MAKE A QUILT-AS-YOU-GO EASTER BUNNIES BLOCK IN 7 EASY STEPS
Quilt-As-You-Go Easter Bunnies Block
Are you looking for a simple, stress-free and creative way to quilt? Then, the Quilt-As-You-Go (QAYG) method is perfect for you!
The QAYG block skips the extra step of quilting the block after it has been pieced. With QAYG, the block is being quilted as you piece each fabric strip!
Tip: Quilt-As-You-Go (QAYG) divides your larger quilt projects into manageable individual blocks. No more wrestling big quilt sandwiches under the needle of your domestic sewing machine because you will quilt the individual blocks. For example: A 58-inch wide by 72-inch deep quilt is created with (20) 14-inch blocks that are individually quilted and then sewn in rows.
In this blog, I’ll show you how to turn a quick and easy Easter Bunnies 14-inch square QAYG block into a pillowcase. You’ll use 13 pieces of scrap fabric to make one QAYG “Courtyard Steps” quilt block. It will be the background for the Easter Bunnies applique. The appliqued block will be the pillow top for an accent pillowcase.
The seven steps to making the QAYG Easter Bunnies accent pillowcase are:
- First Step: Making The QAYG Sandwich
- Second Step: Piecing QAYG Fabric Strips
- Third Step: Making The Easter Bunnies Applique
- Fourth Step: Sewing The Easter Bunnies Applique To The QAYG Block
- Fifth Step: Trimming The Finished QAYG Top
- Sixth Step: Making The Pillowcase Backing
- Seventh Step: Binding The Pillowcase
Let me show you how it's done!
Close-up of Supplies
Quilting Checklist and Supplies Needed for A QAYG Courtyard Step & Applique Block
A great start makes a great finish. Get prepared for this project. See “Supplies”, “Fabric” and “Getting Ready To Sew”.
Supplies
- Your favorite ¼-inch presser foot
- A Walking Foot
- Your favorite applique foot
- Coordinating Cotton Thread
- Clear Polyester Thread (For the applique)
- Long Flower Head Pins
- Heat Erasable Fabric Marking Pens
- Thread Snips
- 6-inch square or smaller quilting ruler
- Cotton batting (Cut one 18-inch square)
- Glue Stick
- Cutting Mat
- 60 mm Rotary Cutter
- Fabric Glue Spray
- 6 x 25 quilting ruler
- Pillow stuffing
- 8.5 wide by 11-inches deep paper backed fabric sheet
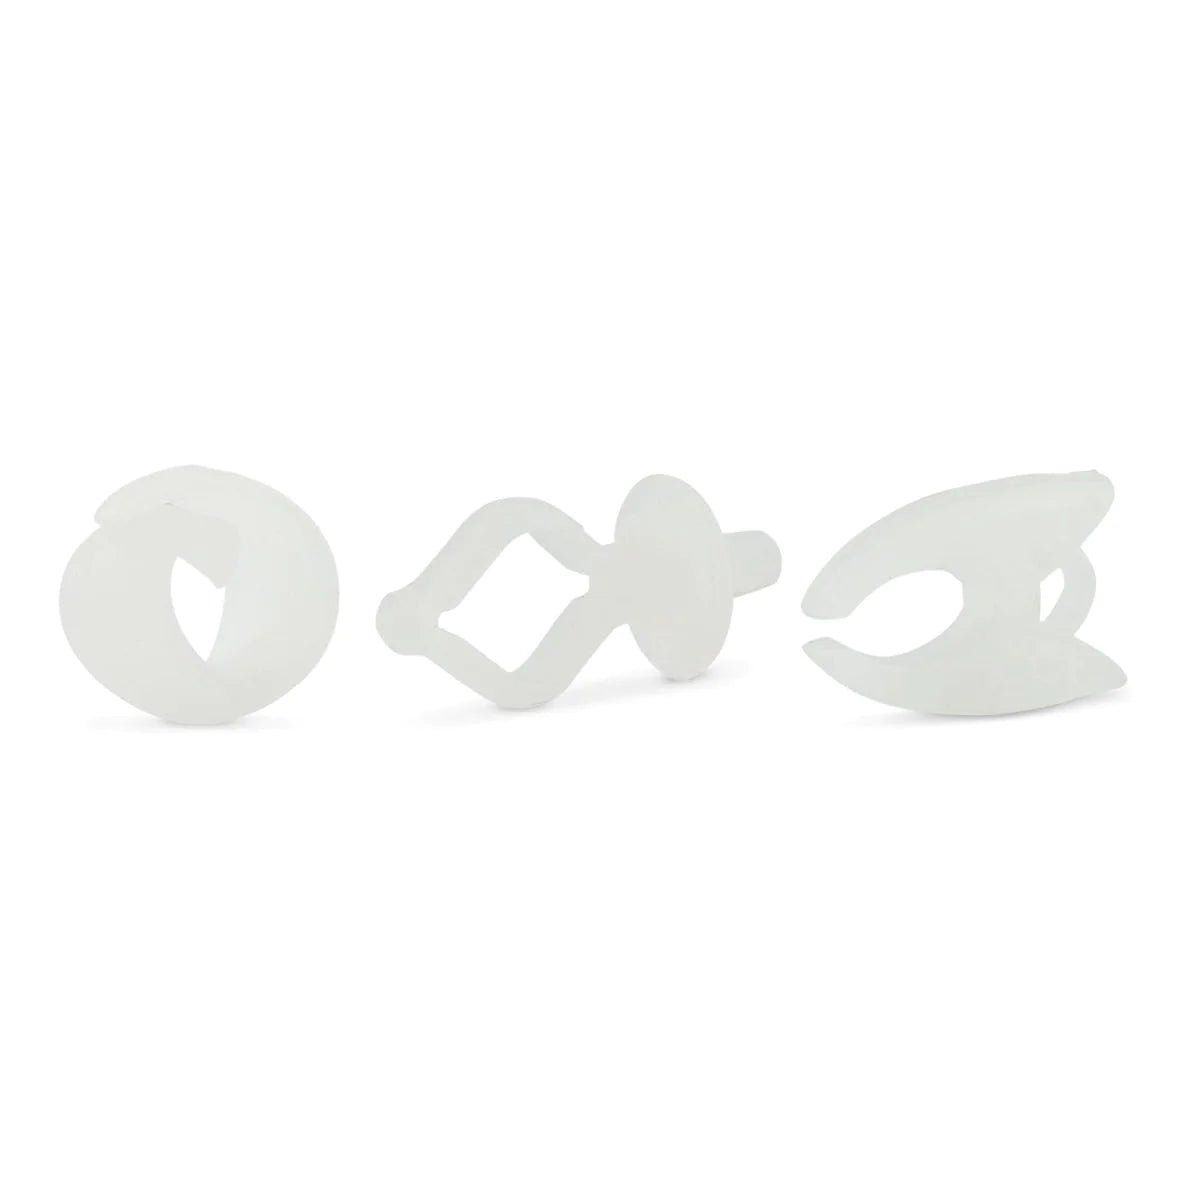
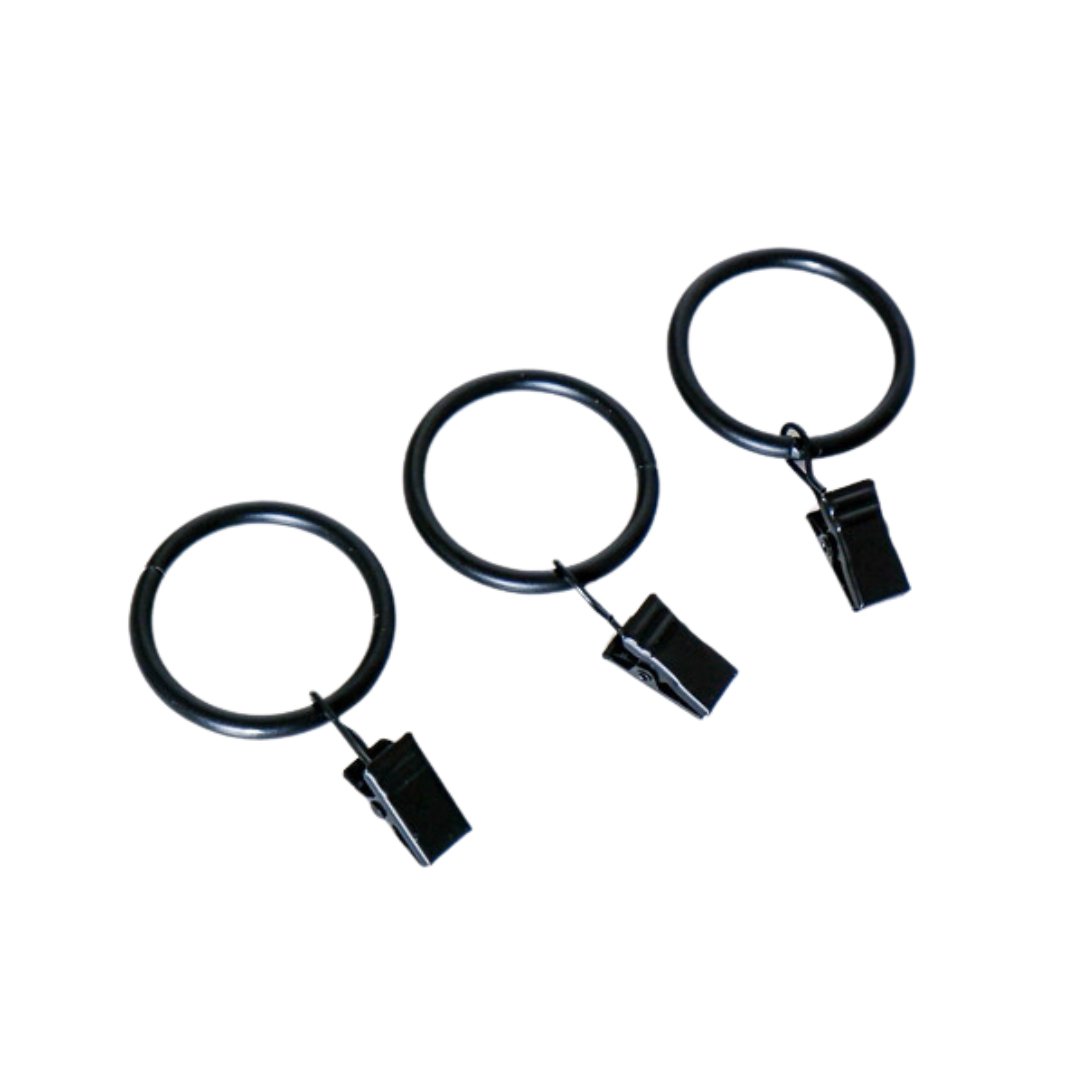
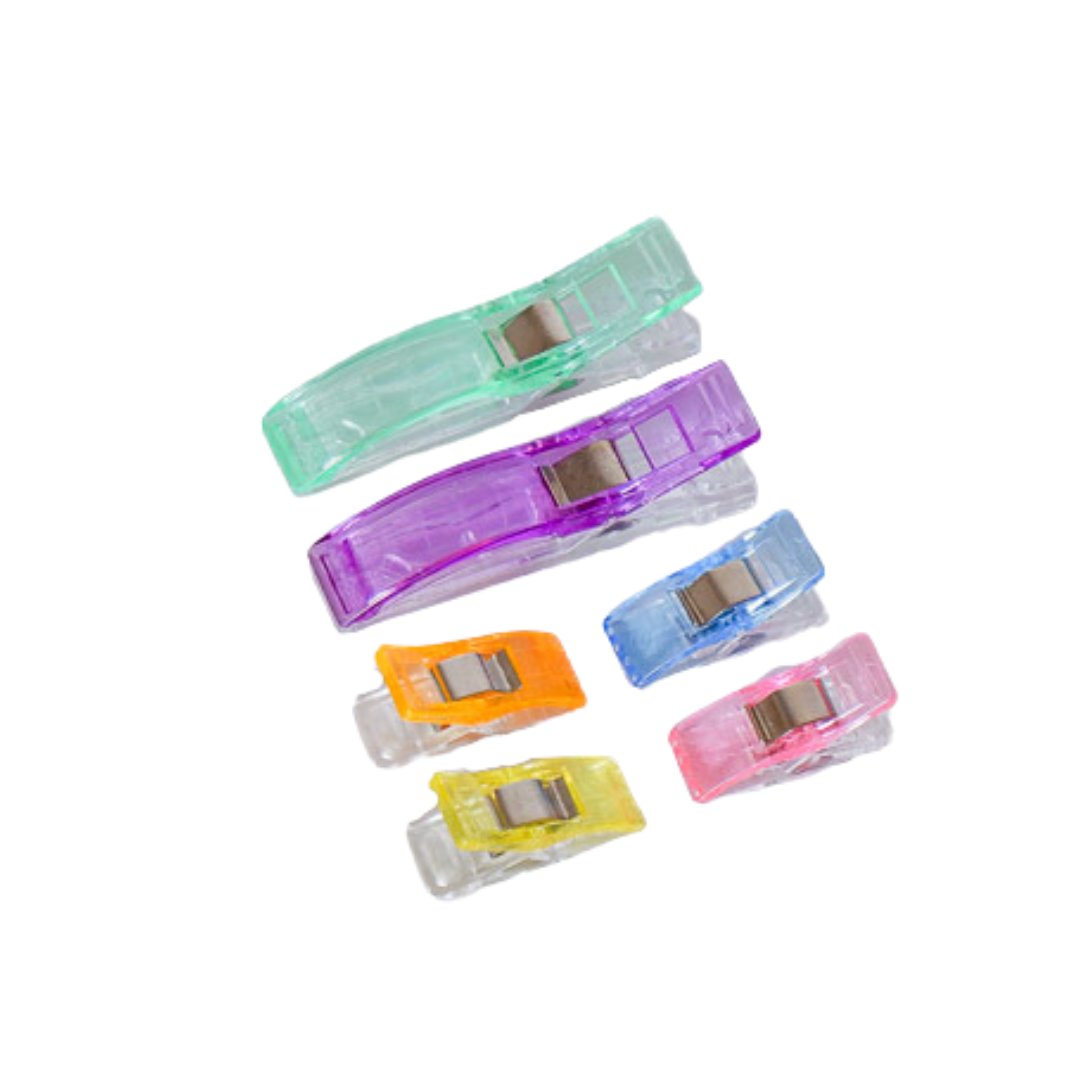
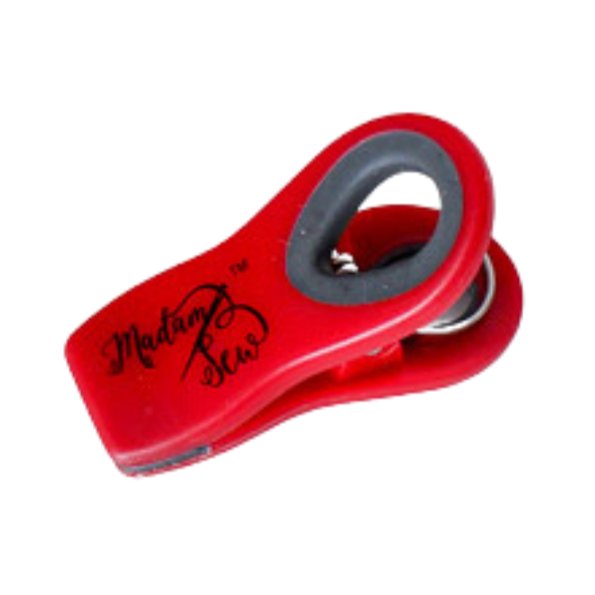
- Sewing Clips
Fabrics
- 12 assorted cotton fabric strips for the courtyard steps. Cut each fabric strip 2-inches wide by 16-inches long. The trimmed length of each strip will be based on the Courtyard Steps Block Piecing Layout.
- 3.5-inch square piece of fabric. This will be the center of the Courtyard Step Block.
- From your fabric stash cut one 18-inch square of cotton fabric for the QAYG block backing.
- 18-inch square of batting
- 2-yards of coordinating cotton fabric for the pillowcase backing. Cut two pieces 14.5-inches wide by 10.5-inches deep.
- ¼-yard of coordinating cotton fabric for the binding. Cut the binding 2.5-inches wide by 78-inches long.
Getting Ready to Sew
Use your favorite way to prep for a new project or try my proven, stress-free method. See “Getting Ready To Quilt-The Ultimate Checklist”.
First Step: Making The QAYG Sandwich
Build the Quilt-As-You-Go sandwich by placing the 18-inch square of fabric backing on your work surface. The wrong side of the fabric should be facing you.
Spray the wrong side of the fabric with fabric glue.
Then, carefully place your 18-inch square of batting on top of the backing fabric.
Great! You are ready to start piecing the fabric strips.
Tip: Fabric glue spray is a marvelous way to join your quilt sandwich. But it does have drawbacks. It can gum up your sewing machine needle and you must use it in a well-ventilated area.
Courtyard Steps Block Piecing Layout
Second Step: Piecing The QAYG Fabric Strips
Create the QAYG Courtyard Steps Block by using the courtyard steps block piecing layout for positioning and piecing.
Centering the 3.5-inch Square Fabric On The QAYG Sandwich
Start by centering the 3.5-inch square fabric on the QAYG sandwich. This is essential to easily achieving a balanced block.
Here’s a quick two step way to find the center of the QAYG sandwich.
- Start by finding the center of the QAYG sandwich.
- Place the QAYG sandwich in your work area with the batting facing you.
- Find the center of the QAYG Sandwich by folding it in half by its width and then its length.
- The center is where the lines intersect. Mark the creases with a heat erasable pen.
QAYG Sandwich with Center Marks
Then, find the center of the 3.5-inch square fabric by folding it in half by its width and then by its length.
Put a pin through the center. Align the pin with the center of the QAYG sandwich.
3.5-inch Square Center Fabric With Its Centering Creases
Lastly, use a glue stick to temporarily hold the center fabric in position.
Sequence For Piecing The 12 Fabric Strips
The pattern for piecing the courtyard step block’s 12 fabric strips around the center fabric is top, bottom, right and left.
Pieced Strips 1-5
Here’s the pattern for strips 1-5:
- Strip 1 is sewn at the top edge of the center fabric.
- Strip 2 is sewn at the bottom edge of the center fabric.
- Strip 3 is sewn to the right edge of the center fabric.
- Strip 4 is sewn to the left edge of the center fabric.
- The pattern repeats when Strip 5 is sewn to the top edge of strips 4, 1 and 3.
QAYG Block With All Fabric Strips Pieced
When all fabric strips are pieced your QAYG block should look like Picture 7.
Third Step: Making the Easter Bunnies Applique
Easter Bunnies
Use your own photo or use The Easter Bunnies in picture # 8.
Print the bunnies on paper backed fabric. Need a refresher? See my method in Madam Sew blog “Make A Quilted Christmas Patchwork Ornament With Photo In One Hour”. See section 4 “How To Print A Photo on Paper Backed Fabric”
Cut out the fabric bunnies and position them on the QAYG block.
Fourth Step: Sewing The Easter Bunnies Applique To The QAYG Block
Easter Bunnies Appliqued to the QATG Block
Use any applique presser foot and applique stitch to sew the Easter Bunnies to the QAYG top. Or try an applique method from Madam Sew’s excellent tutorial video “How To Applique--Stitches & Presser Feet”
Tip: I used spray fabric glue to affix the bunnies to the QAYG block. Clear polyester thread was in the needle and white cotton thread in the bobbin. Stitch Pattern and Size: Satin Stitch at 4.5 wide by 0.30 long.
Congratulations! The Quilt-As-You-Go Easter Bunnies Block is sewn.
Trimmed QAYG Top
Fifth Step: Trimming The Finished QAYG Pillowcase Top
Trim the QAYG pillowcase top. It should measure 14.5-inches square. If you have a 14.5-inch square quilting ruler then this step is super easy. But if you don’t, then use your favorite method to trim a block or apply my tried and true method to trim and square in the Learn How To Square Up A Quilt blog.
Sixth Step: Making The Pillowcase Backing
Our QAYG pillowcase features an easy-to-make envelope closure.You’ll topstitch the backing fabric to give each one a finished edge.
Topstitched Backing Fabric
Cover the raw edge on the 14.5 inch width of the backing fabric by folding it over ¼ -inch, twice and then topstitching. This is a “rolled hem finished edge”. It prevents the fabric from fraying and reinforces the envelope closure where it matters most. (Note: The other three sides should have raw edges)
Let’s start, place the QAYG pillowcase top in your work area with the wrong side facing you.
Backing Fabric Positioned on Pillowcase Top
Take one backing fabric and position it with the 14.5-inch wide raw edge aligned with the bottom of the pillowcase top. The finished edge of the backing should be at the top.
Take the second backing fabric and place it on top of the first backing fabric. The 14.5-inch wide raw edge should align with the top of the pillowcase top. The finished edge should overlap the first backing fabric.
The backing fabrics should overlap by 6.5-inches. This is the envelope opening.
To prevent fabric shifting, clip or pin the perimeter.
Seventh Step: Binding The Pillowcase
Binding the pillowcase reinforces the edges and gives it a professional look. Sew the binding to the front of the pillowcase perimeter using a ¼-inch seam allowance. Then, join the binding tails your favorite way or try my invisible binding join method explained in the Madam Sew blog “How To Join Quilt Binding”. Sew the binding to the back of the pillowcase.
Finished 14-inch square QAYG Easter Bunny Accent Pillowcase
Stuff your beautiful accent pillowcase and your project is complete! Wonderful Job!
You made a Quilt-As-You-Go block, created a pillowcase top, appliqued Easter Bunnies to the pillowcase top, trimmed the pillowcase top, made a pillowcase backing with an envelope closure, did a rolled hem edge finish, top stitched the perimeter of the pillowcase and used traditional quilt binding to secure the edges of the pillowcase.
May this accent pillow project inspire you to use the techniques you learned in future projects. For more inspiration, check out these Madam Sew blogs and videos:
- Quilting With Applique Quilting Patterns
- How To Make An Accent Pillow Cover (The non QAYG way)
- How To Applique Stitches And Presser Feet
May your quilting always bring you joy!
Ernie Grant
Guest Blogger For Madam Sew
Ernestine “Ernie” Grant is an avid quilter with over 17 years experience and is the owner of the custom baby quilt business www.kalibabyquilts.com. As an African American living in Harlem, NY her view of quilting is shaped by her heritage and the elders who taught her–Quilting is not just thread, fabric and stitches. It is art, it is love, it is community.
Download the PDF of this quilt block tutorial here if you want to keep it on your computer or print at home.
Download the Bunnies Picture for the applique here


